Checks & Vouchers

The software allows user to write and print checks. For writing check, user can add expense items to the table at the bottom of the form. The amount for each expense item is automatically added to the total amount for the check. User can indicate to display the address of the payee by checking an option. By default, newly created checks are marked as "For Printing". Previous checks can be retrieved using the "Search / Edit" button. Once retrieved, the previous check should already have a check number if it was printed. User can check "For Printing" and save the change. After saving, the check number will disappear and the check is ready for printing. if the user prints that check, a new check number will be generated. This feature is useful for pre-printed check. For example, when user printed a check on pre-printed check and the result was not as expected, user can use this feature to print the check again on another pre-printed check with a different check number.
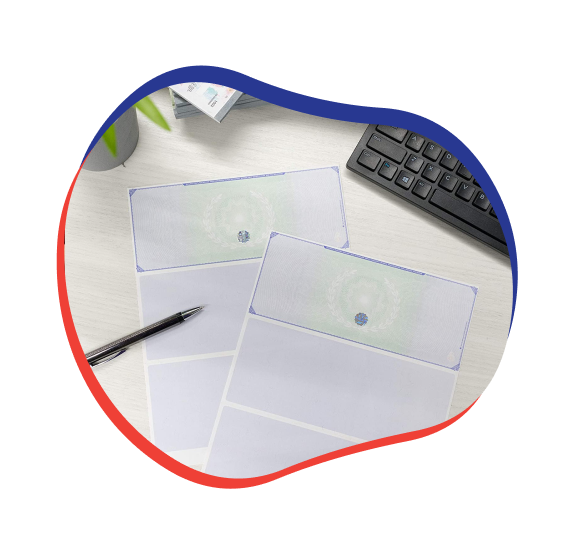
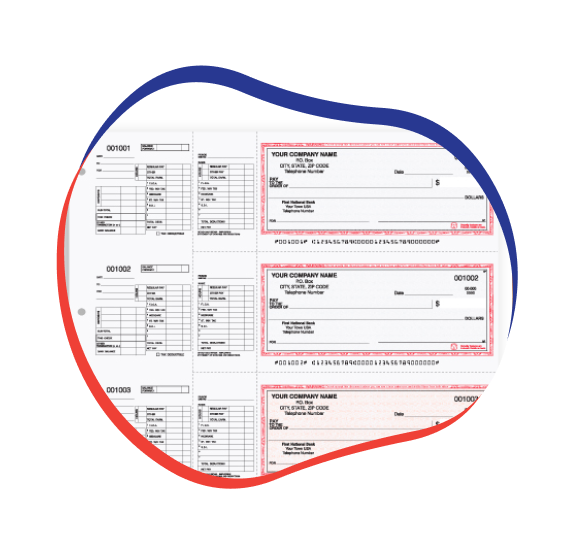
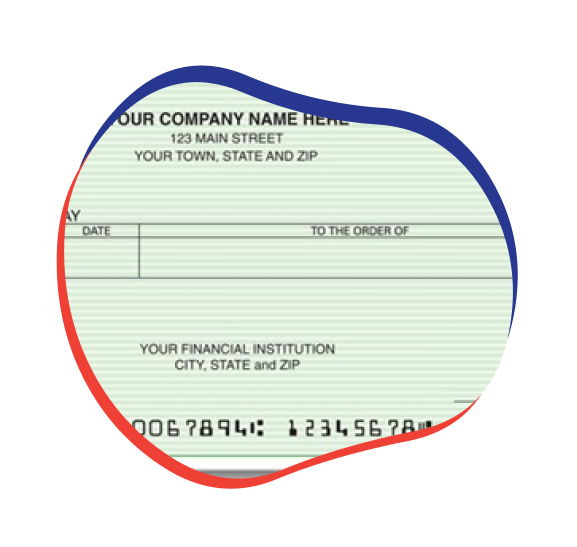
After writing check, user can choose to print check from "Home" page or by selecting "Print Check" from "Reports" menu. At this screen, user has many options to print checks. By default, the form displays all the checks marked "For Printing". Different options can be toggled to display other checks. User can select a check, or multiple checks using "ctrl" button, for printing. Check type needs to be indicated, either business check or voucher. Then user can click "View / Print" to display output and to print check after that. User can choose to print out blank checks. The blank checks just contain basic information such as check number, owner's address, financial institution's address, account number, etc. The blank checks can be manually written and signed just like a regular check.


Both the writing check screen and the printing check screen let user make changes to the checking information. User can click "Edit Checking Info" button to make changes to owner's address and financial institution's address.